(Page créée avec « {{Tuto Details |Description=Dans cette notice, vous allez connaître les étapes à suivre pour réaliser le calage d'un portillon . |Categories=Portillons |Difficulty=Eas... ») |
|||
| (5 révisions intermédiaires par 2 utilisateurs non affichées) | |||
| Ligne 1 : | Ligne 1 : | ||
{{Tuto Details | {{Tuto Details | ||
| + | |Main_Picture=Calage_Portillon_placer_cale_new2.jpg | ||
|Description=Dans cette notice, vous allez connaître les étapes à suivre pour réaliser le calage d'un portillon . | |Description=Dans cette notice, vous allez connaître les étapes à suivre pour réaliser le calage d'un portillon . | ||
|Categories=Portillons | |Categories=Portillons | ||
| Ligne 6 : | Ligne 7 : | ||
|Duration-type=minute(s) | |Duration-type=minute(s) | ||
|Opérations=Poser mon produit | |Opérations=Poser mon produit | ||
| + | |Personnes=1 | ||
| + | |Tags=portillon, montage, pilier, cale, serre-joint, Klos-up!, Klosup!, klos-up, klosup, aide, tutorial | ||
}} | }} | ||
{{Introduction}} | {{Introduction}} | ||
| Ligne 14 : | Ligne 17 : | ||
|Item=Niveau à bulle | |Item=Niveau à bulle | ||
}} | }} | ||
| + | |Prerequisites={{Prerequisites}} | ||
}} | }} | ||
| − | |||
{{EPI}} | {{EPI}} | ||
| − | |||
{{Tuto Step | {{Tuto Step | ||
| + | |StepType=Normal | ||
|Step_Title=Mise en place du Portillon | |Step_Title=Mise en place du Portillon | ||
| − | |Step_Content= | + | |Step_Content=Poser le portillon sur le gond du bas. |
| − | |Step_Picture_00= | + | |Step_Picture_00=Calage_Portillon_mise_place_portillon_new.jpg |
| − | |||
}} | }} | ||
{{Tuto Step | {{Tuto Step | ||
| + | |StepType=Normal | ||
|Step_Title=Placement de la cale | |Step_Title=Placement de la cale | ||
| − | |Step_Content= | + | |Step_Content=Placer la cale entre le montant et le pilier. |
| + | |Step_Picture_00=Calage_Portillon_placer_cale_new2.jpg | ||
}} | }} | ||
{{Tuto Step | {{Tuto Step | ||
| + | |StepType=Normal | ||
|Step_Title=Utilisation du serre-joint | |Step_Title=Utilisation du serre-joint | ||
| − | |Step_Content= | + | |Step_Content=Serrer les éléments à l’aide d’un serre-joint. |
| − | |Step_Picture_00= | + | |Step_Picture_00=Calage_Portillon_cale_serre_joint_new.jpg |
| − | |||
}} | }} | ||
{{Tuto Step | {{Tuto Step | ||
| + | |StepType=Normal | ||
|Step_Title=Contrôle de l'aplomb | |Step_Title=Contrôle de l'aplomb | ||
| − | |Step_Content= | + | |Step_Content=Contrôler l'aplomb à l'aide d'un niveau. |
| − | |Step_Picture_00= | + | |Step_Picture_00=Calage_Portillon_niveau_control_new.jpg |
| − | |||
}} | }} | ||
{{Notes}} | {{Notes}} | ||
{{PageLang}} | {{PageLang}} | ||
{{Tuto Status | {{Tuto Status | ||
| − | |Complete= | + | |Complete=Published |
}} | }} | ||
| + | {{Separator}} | ||
| + | |||
| + | {{Separator}} | ||
Version actuelle datée du 11 janvier 2024 à 15:51
Dans cette notice, vous allez connaître les étapes à suivre pour réaliser le calage d'un portillon .

Difficulté
Facile
Durée
10 minute(s)
Opérations
Poser mon produit
Personnes
1
- Pièces et outils
Pièces et outils
Serre-joint 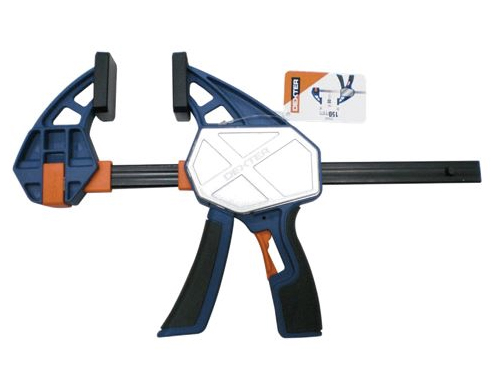

Un serre-joint est un outil qui permet de serrer et de maintenir différentes pièces en contact entre elles.
Niveau à bulle 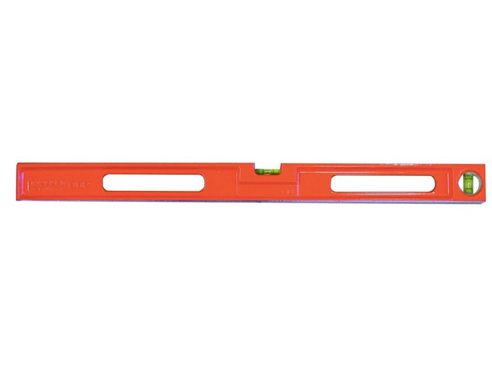

Un niveau à bulle est un élément d'un instrument de mesure conçu pour indiquer si une surface correspond à l'angle de référence.
Étape 1 - Mise en place du Portillon
Poser le portillon sur le gond du bas.

Étape 2 - Placement de la cale
Placer la cale entre le montant et le pilier.

Étape 3 - Utilisation du serre-joint
Serrer les éléments à l’aide d’un serre-joint.

Étape 4 - Contrôle de l'aplomb
Contrôler l'aplomb à l'aide d'un niveau.

Published