| Ligne 31 : | Ligne 31 : | ||
|Step_Title=Prendre les mesures | |Step_Title=Prendre les mesures | ||
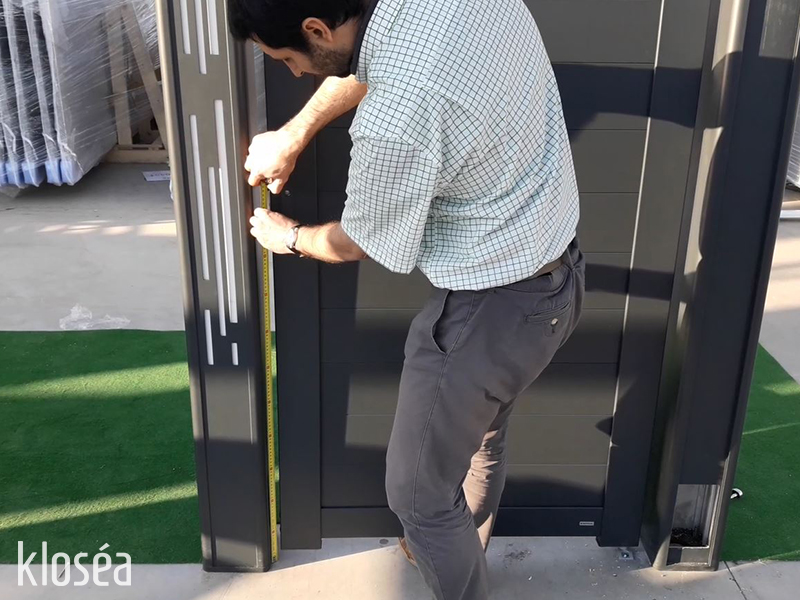
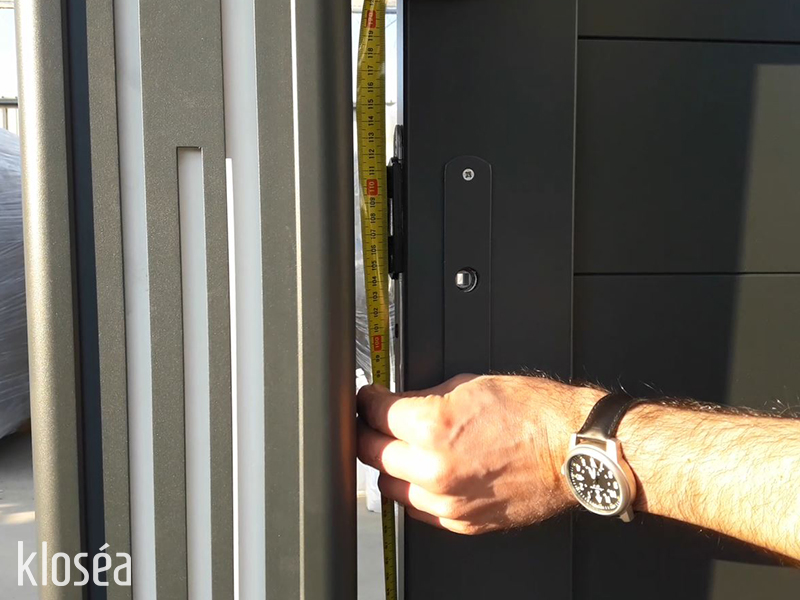
|Step_Content=Relever la cote de l’axe du pêne du portillon. | |Step_Content=Relever la cote de l’axe du pêne du portillon. | ||
| − | |Step_Picture_00= | + | |Step_Picture_00=Fixation_de_la_g_che_d_un_portillon_mesure1new.jpg |
| − | + | |Step_Picture_01=Fixation_de_la_g_che_d_un_portillon_mesure2new.jpg | |
| − | |Step_Picture_01= | ||
| − | |||
}} | }} | ||
{{Tuto Step | {{Tuto Step | ||
| Ligne 40 : | Ligne 38 : | ||
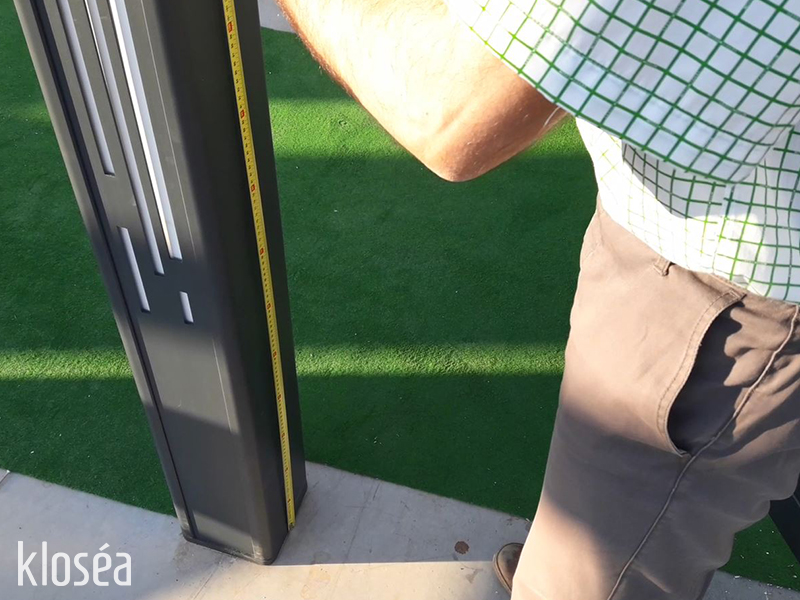
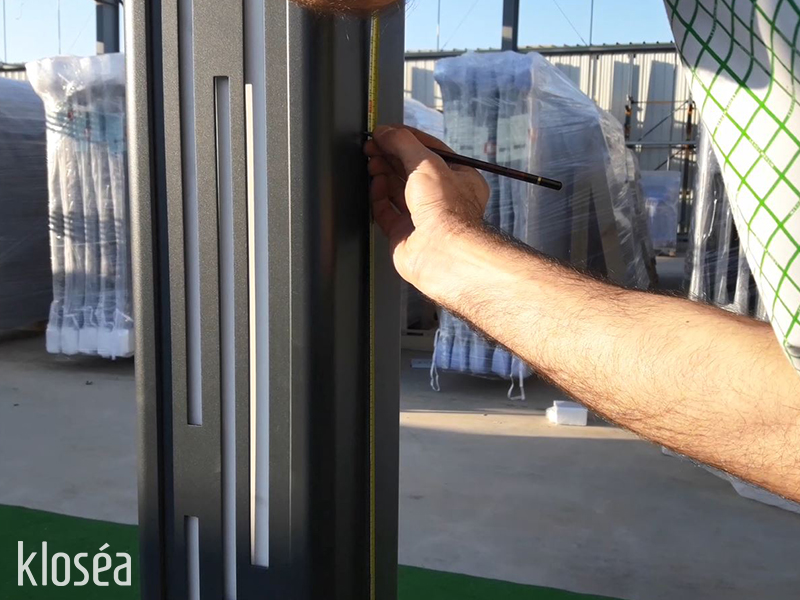
|Step_Content=* Reporter la mesure de l’axe du pêne du portillon à l’aide d’un mètre ruban sur le pilier. | |Step_Content=* Reporter la mesure de l’axe du pêne du portillon à l’aide d’un mètre ruban sur le pilier. | ||
* Marquer la cote relevée. | * Marquer la cote relevée. | ||
| − | |Step_Picture_00= | + | |Step_Picture_00=Fixation_de_la_g_che_d_un_portillon_reports-mesures1new.jpg |
| − | + | |Step_Picture_01=Fixation_de_la_g_che_d_un_portillon_reports-mesures2new.jpg | |
| − | |Step_Picture_01= | ||
}} | }} | ||
{{Tuto Step | {{Tuto Step | ||
| Ligne 48 : | Ligne 45 : | ||
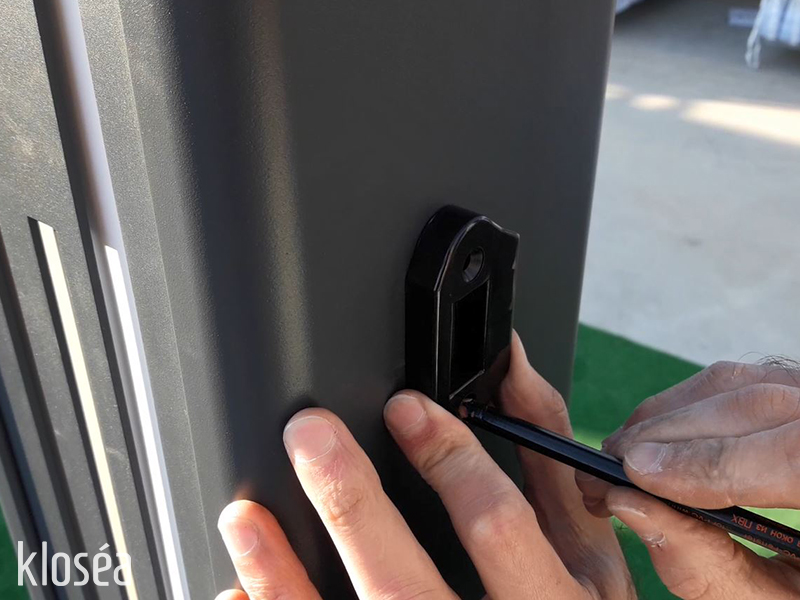
|Step_Content=* Placer l’ouverture de la gâche au milieu de votre marque de référence | |Step_Content=* Placer l’ouverture de la gâche au milieu de votre marque de référence | ||
* Tracer la position de perçage | * Tracer la position de perçage | ||
| − | |Step_Picture_00= | + | |Step_Picture_00=Fixation_de_la_g_che_d_un_portillon_tracage_position-new.jpg |
| − | |||
}} | }} | ||
{{Tuto Step | {{Tuto Step | ||
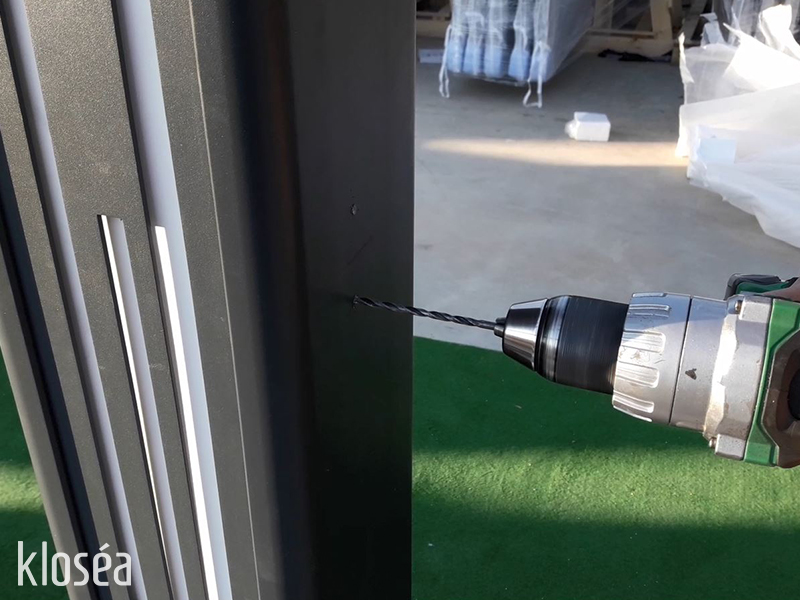
| Ligne 58 : | Ligne 54 : | ||
* en '''béton''' : utiliser des chevilles bétons. | * en '''béton''' : utiliser des chevilles bétons. | ||
| − | |Step_Picture_00= | + | |Step_Picture_00=Fixation_de_la_g_che_d_un_portillon_percage_fixation_gache-new.jpg |
| − | + | |Step_Picture_01=Fixation_de_la_g_che_d_un_portillon_gache_fixee-new.jpg | |
| − | |Step_Picture_01= | ||
|Step_Picture_01_annotation={"version":"2.4.6","objects":[{"type":"image","version":"2.4.6","originX":"left","originY":"top","left":-10,"top":-5,"width":800,"height":600,"fill":"rgb(0,0,0)","stroke":null,"strokeWidth":0,"strokeDashArray":null,"strokeLineCap":"butt","strokeDashOffset":0,"strokeLineJoin":"miter","strokeMiterLimit":4,"scaleX":0.76,"scaleY":0.76,"angle":0,"flipX":false,"flipY":false,"opacity":1,"shadow":null,"visible":true,"clipTo":null,"backgroundColor":"","fillRule":"nonzero","paintFirst":"fill","globalCompositeOperation":"source-over","transformMatrix":null,"skewX":0,"skewY":0,"crossOrigin":"","cropX":0,"cropY":0,"src":"http://communaute.klosea.fr/images/2/2c/Fixation_de_la_g%C3%A2che_d%27un_portillon_gache_fixee.jpg","filters":[]}],"height":449.8409331919406,"width":600} | |Step_Picture_01_annotation={"version":"2.4.6","objects":[{"type":"image","version":"2.4.6","originX":"left","originY":"top","left":-10,"top":-5,"width":800,"height":600,"fill":"rgb(0,0,0)","stroke":null,"strokeWidth":0,"strokeDashArray":null,"strokeLineCap":"butt","strokeDashOffset":0,"strokeLineJoin":"miter","strokeMiterLimit":4,"scaleX":0.76,"scaleY":0.76,"angle":0,"flipX":false,"flipY":false,"opacity":1,"shadow":null,"visible":true,"clipTo":null,"backgroundColor":"","fillRule":"nonzero","paintFirst":"fill","globalCompositeOperation":"source-over","transformMatrix":null,"skewX":0,"skewY":0,"crossOrigin":"","cropX":0,"cropY":0,"src":"http://communaute.klosea.fr/images/2/2c/Fixation_de_la_g%C3%A2che_d%27un_portillon_gache_fixee.jpg","filters":[]}],"height":449.8409331919406,"width":600} | ||
}} | }} | ||
Version du 13 juin 2019 à 14:29
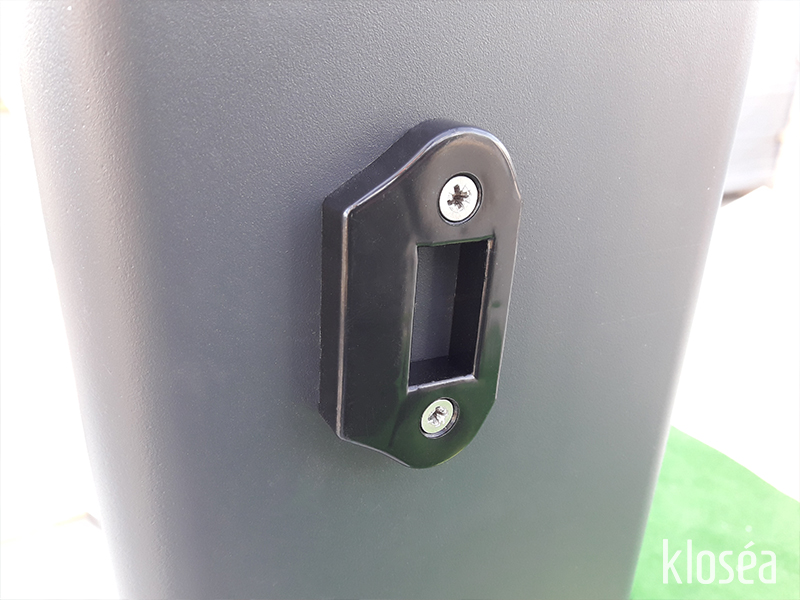
Dans cette notice, vous allez apprendre comment fixer simplement la gâche de votre portillon.
Difficulté
Moyen
Durée
15 minute(s)
Opérations
Poser mon produit
Personnes
1
- Pièces et outils
- Tutoriels prérequis
Pièces et outils
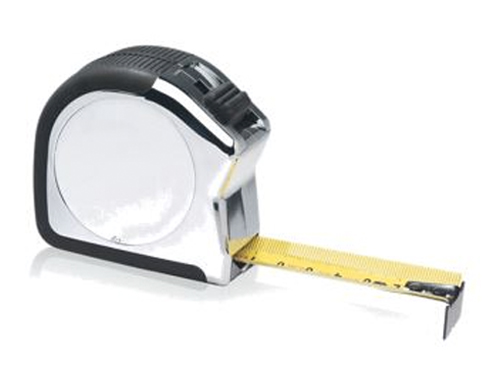
Mètre
Le mètre est un instrument de mesure formé d'une règle graduée flexible et pouvant s'enrouler, ce qui rend son transport très aisé.
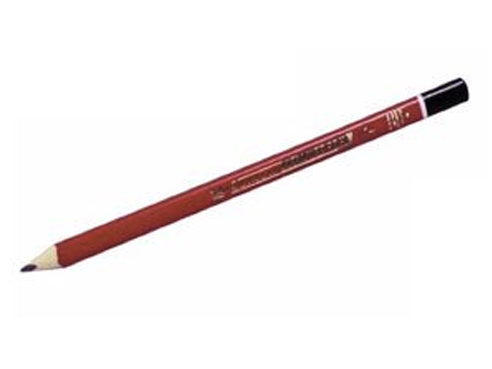
Crayon gris
Le crayon de charpentier est un outil de traçage.
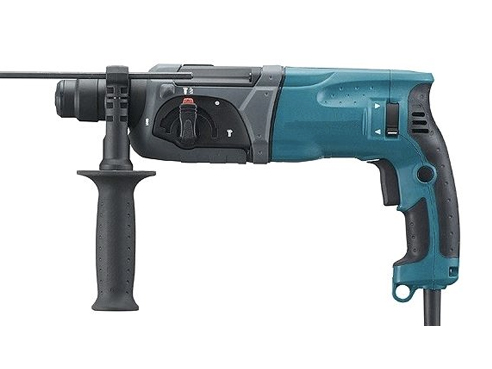
Perceuse
Une perceuse ou foreuse est un outil qui sert à percer ou tarauder des trous dans différents matériaux à l'aide de forets.
Tutoriels prérequis
Étape 2 - Reporter les mesures
- Reporter la mesure de l’axe du pêne du portillon à l’aide d’un mètre ruban sur le pilier.
- Marquer la cote relevée.
Étape 3 - Traçage de la position de perçage
- Placer l’ouverture de la gâche au milieu de votre marque de référence
- Tracer la position de perçage
Étape 4 - Perçage et fixation
Percer au diamètre 8mm et adapter le système de fixation selon le type de pilier :
- en aluminium : percer et tarauder
- en béton : utiliser des chevilles bétons.
Published
